Helloooooo blogging friends! Halloween is oh so close now!
I haven't been able to create nearly as much projects for this Holiday as I wanted
but i did manage to squeeze this one in :)
Yesterday on the Prima blog we were given an "open day" , no theme
nothing required. Just letting us have fun! So I altered this plastic inexpensive
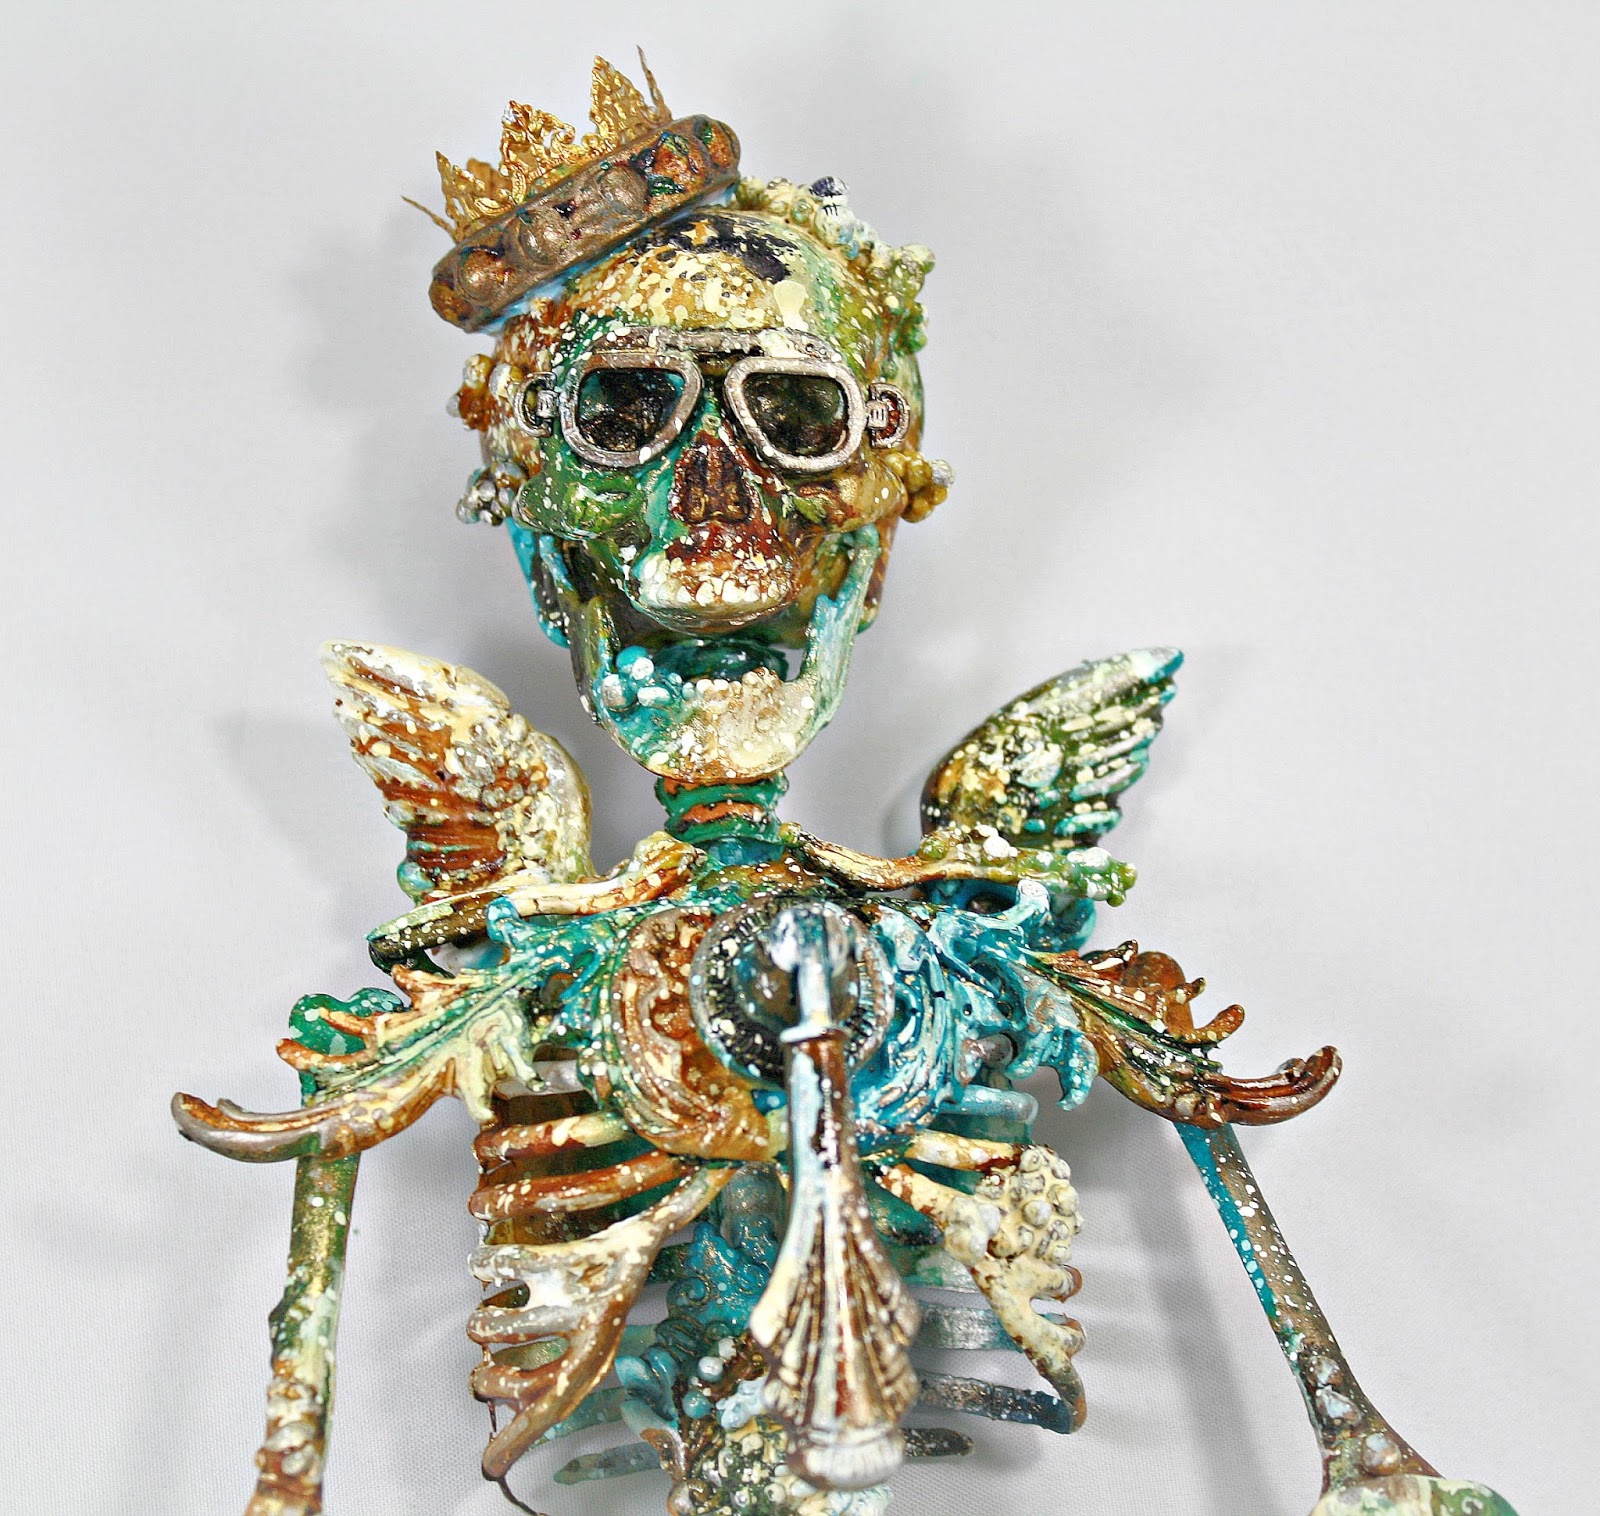
skeleton and wooden coffin , both from Michael's.
I kept it simple embellishment wise, and went for heavy mediums!
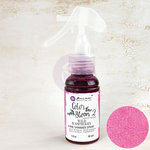
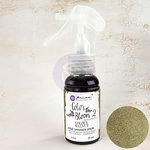
Oh HOW I LOVE Finnabair Mediums! Few things
make me happier :)
Check out the Prima Blog for tons of amazing works from the DT!
Full supply list below!!!!
Have fun and give it a try :) xoxo
Hugs!

The first thing I did to each piece was to gesso it! The skeleton really needed something to give it some "tooth"since it was plastic. After that it was ready for mediums!

I gave the coffin a generous coat of paint with the SParks Raven Black! it is so shimmery
and gorgeous! I added some drips and splatters of color blooms and a tid bit of alcohol ink on the edges just to grunge it up! I used the IOD Metals for wood plaques at the top and attached some
Memory Hardware chain to drip down with jump rings. I stamped with an older
Treasured Memories stamp that i LOVE in thebackground and on the skeleton
but it just barely shows here and there :)

I had so many ideas for using a ton of embellishments on my skelly! But As i started going, adding the art stones and the IOD clay pieces I decided to let the mediums and those pretty colors talk for it!
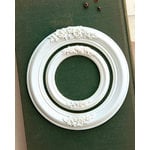
The crown was so easy to make, using the "moulding 1 " IOD mould i just pulled the clay out
while still wet and wrapped it around a bottle then secured it with a needle until it could dry.
Then i glued some dresden scrap I had inside :) It may be hard to see the junkyard finding "pipes" parts on the skeletons legs and arms with so many mediums covering it, but hey thats the joy of mixed media , just adding more and more!

I cut apart one of the moulds just to use the wings which were the perfect size I thought.
and the skeleton needed some cool "glasses", these older Ingvild Bolme Junkyard Findings
goggles were perfect! I love to raid my stash and just see what works well!
Everything was adhered with 3d matte gel, except the art stones!
I mix those with soft gloss gel so I can apply them easily :) After everything was done
I watered down my gesso and splattered like crazy! It's something i always love to do!
I hope you like my project :)
Full supply list:
(affiliate links)


Thank you all SO MUCH for stopping by,
I truly appreciate each and everyone of you!
Hugs and enjoy your weekend!
xoxo